
Monday, July 1, 2013
Sheeting the roof
Wind and heat are not good for putting sheeting on the roof. Ryan and our dads got two rows of sheeting around most of the roof this weekend. The front side and the rest of the back can be done with the tractor. It is a LONG way up there!


Decks
We will have two covered outdoor spaces. The smaller "balcony" is out the north side of the house from the media room. The larger covered deck is out back, facing the pond.


Roof Trusses
Ryan rented a boom...lift thing to fly the roof trusses in. They are too big, heavy and awkward to be lifted safely by hand. My dad ran the lift and Ryan and his brother guided them to the right spot on the roof. Three others (his dad, other brother and friend) were on ladders and helped secure them into place.
Several pictures of the progress of the day.


Several pictures of the progress of the day.


Pile o' Trusses
Here is the massive pile of roof trusses. And a second picture with the Ranger by the pile to give some perspective as to how big it is.


Radiant Heat in Garage
I know, I'm spoiled. And so is my car. Our garage floor is going to have radiant heat in it. This will help with ice in the winter.


Framing the Ground Floor
I did not get to watch them framing the ground floor. Thank you to my mom for taking pictures for me!
Framing for the ground floor is basically the same as for the basement with the headers and the studs. Here are a bunch of pictures of the walls going up.


Framing for the ground floor is basically the same as for the basement with the headers and the studs. Here are a bunch of pictures of the walls going up.


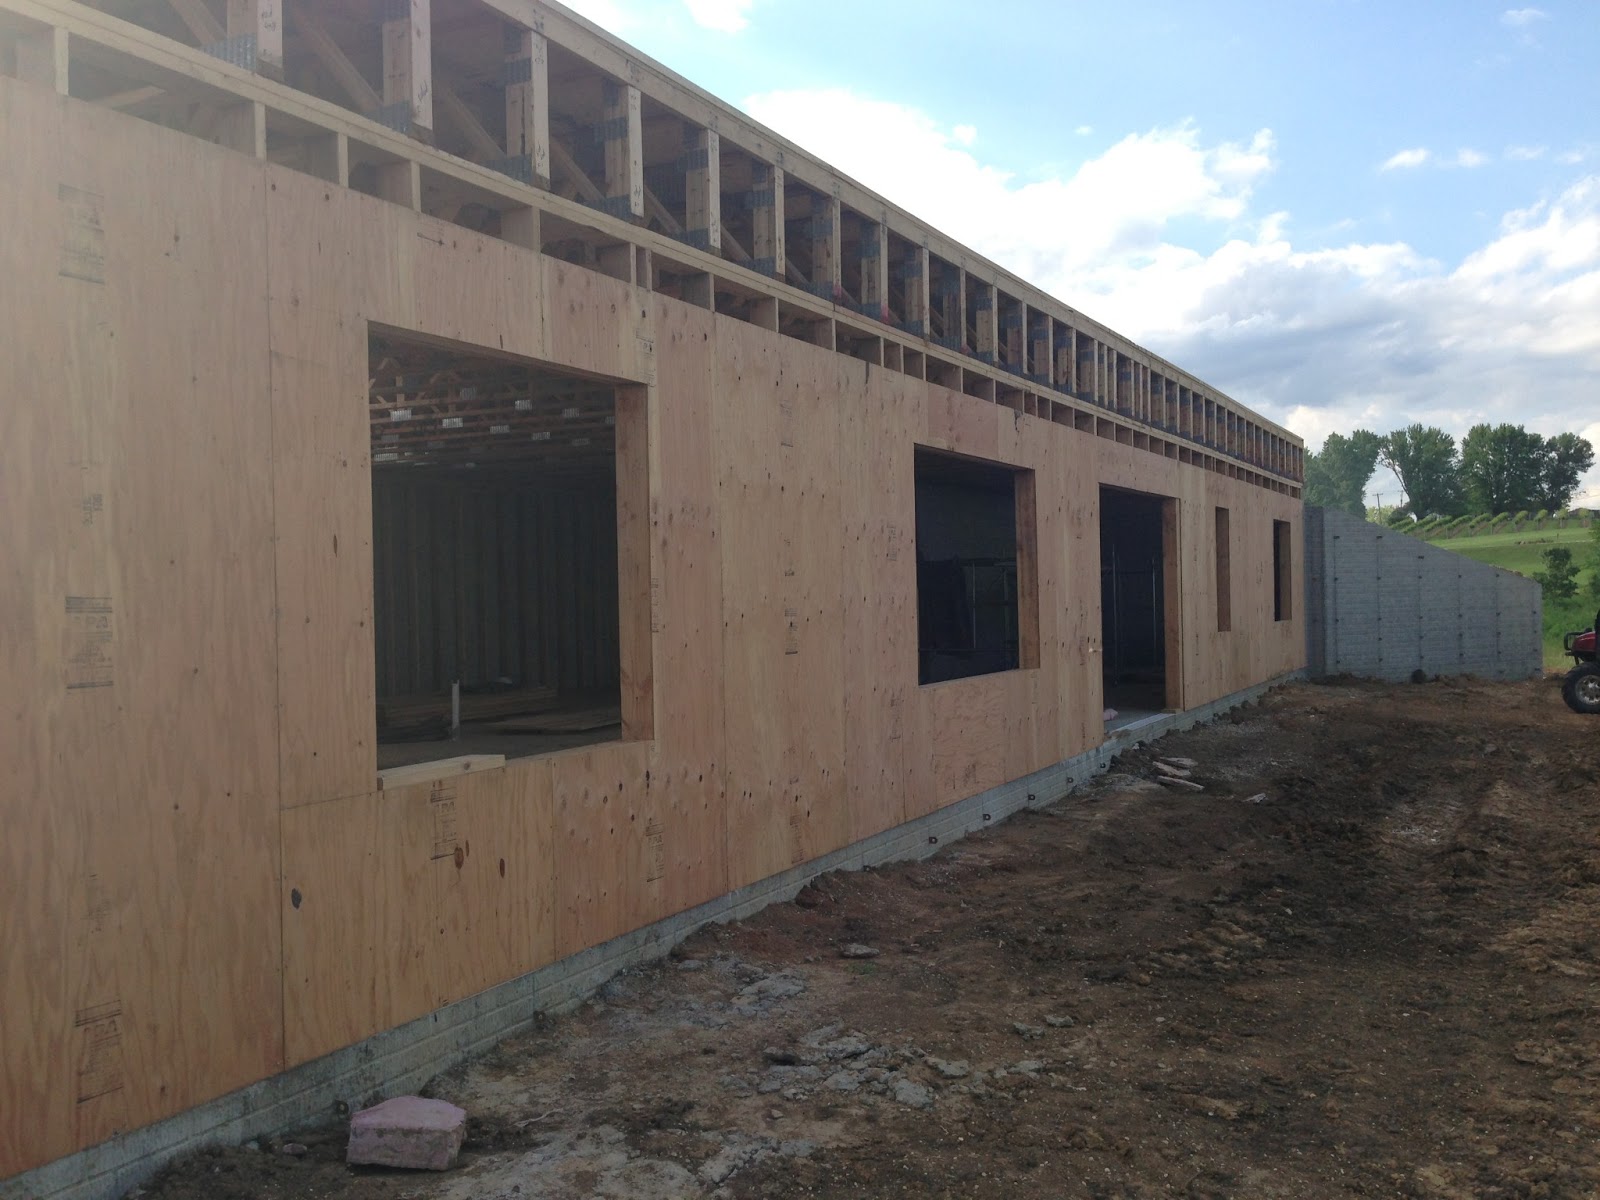
Subfloor, Sheeting and Steps
Once the stairs were framed in and the remaining trusses put on, Ryan and his helpers were able to put on the subflooring. They also put sheeting around the outside of the walk out wall.


Also, we reinforced the flooring beneath the kitchen with two extra floor trusses. The cabinets, countertops, island and appliances add extra weight to the floor. We decided to add the extra trusses to help distribute the weight.

Once the subflooring was on, they finished the steps in the stairwell.

Framing in the stairs
All of the floor trusses (with the exception of the few that are around the stairs) span the entire width of the house. Other than the exterior walls and the stairs, our house has no load bearing walls. This means that we can have a very open floor plan.
The stairs support shorter floor trusses and so they had to be framed in separately.

The stairs support shorter floor trusses and so they had to be framed in separately.

Framing the basement
Once the basement slab was poured, Ryan, his brothers and dad and my dad started framing in the basement. They framed the "step down" on the south side of the house first. They also framed in the interior back wall so that the floor trusses could sit on it. Headers (two pieces of wider wood with a piece of insulation between it) had to be built for the windows and sliding patio door. That same weekend, they put all the floor trusses in as well.

Pow-Wow on how to get things set up for the big walk out wall.


Pow-Wow on how to get things set up for the big walk out wall.

Jaina is measuring the headers to make sure that they are big enough.


Basement Slab and Lumber
Sorry, I have gotten behind. Things have started happening fast!!! Once the radiant heat was finished, we had a few days of rain and were unable to pour the basement slab. That put the framing of the basement on hold. But! The slab was poured and the lumber for framing was delivered.


They also had to put in a new utility pole for us. Here it is with our transformer.

Subscribe to:
Comments (Atom)